


Home Painting Tips: Expert Advice for a Flawless Finish
Posted on 4th April 2024 at 14:39
Painting is one of the most popular and cost-effective options when it comes to giving your home a fresh look. However, achieving a flawless finish requires some knowledge and expertise.
This comprehensive guide will provide expert advice on home painting, covering everything from the tools you need to the correct order of painting a room. Whether you're a beginner or have some experience, these tips will help you achieve professional results.
Tools and Supplies for Home Painting
Before you start painting, it's important to gather all the necessary tools and supplies. While brushes and rollers are the key tools, other items will help you achieve a high-quality finish.
Here's a list of the essential tools and supplies for home painting:
Brushes: 4 inch, 2 inch, Cutting in brush
Roller: Deep pile, medium pile, short pile, foam
Roller tray
Extension pole
Painters tape/masking tape
Step ladder
Dust sheets
Paint: Emulsion for walls; gloss, satin, or eggshell for woodwork
Paint kettle / Container to decant paint into
Sugar soap
Wallpaper scorer
Remember, investing in high-quality brushes and rollers will ensure better results. Cheap tools may shed hairs or leave behind bits of fluff, compromising the finish of your paint job.
The Correct Order for Painting a Room
To achieve a great finish, following the correct order when painting a room is crucial. By doing so, you'll save time and effort. Here is the recommended order for painting a room:
Prepare the room: Remove furniture and cover the floor with dust sheets. Protect fixtures and fittings with painter's tape.
Paint the ceiling: Start by painting a border around the edges using a 4-inch brush. Then use a roller to finish the ceiling, working in one corner and doing a strip from one side to the other.
Paint the walls: Start by cutting in at the ceiling edges, corners, and around fixtures and fittings. Then use a roller to paint the walls, working from floor to ceiling in strips. Repeat for each wall.
Paint the woodwork: Begin with door frames, followed by window frames or doors. Leave the skirting boards for last. Use masking tape to protect glass surfaces. Apply an undercoat and do two coats for a good finish.
By following this order, you'll ensure clean lines and avoid any drips or smudges on newly painted surfaces.
Preparing a Room for Painting
Proper preparation is key to achieving a flawless finish. Before you start painting, take the time to prepare the room. Here are the steps to prepare a room for painting:
Empty the room: Ideally, remove all furniture from the room. If that's not possible, move it to the middle of the room and cover it with dust sheets.
Protect the floor: Use painters tape to secure newspaper along the edges of the floor. Cover the rest of the floor with dust sheets to prevent paint drips from seeping through.
Remove wallpaper: If there is wallpaper on the walls, use a wallpaper scorer tool to score the paper. Apply warm water with a sponge and let it sit for five minutes. Use a paint scraper tool to remove the paper, starting from the bottom and working your way up.
Clean the surfaces: Wash the ceiling and walls with sugar soap if they are dirty or greasy. Fill any holes in the ceiling and walls with filler, then wait for it to dry. Sand the walls until smooth.
Prepare the woodwork: Clean skirting boards, doors, and windows with sugar soap. Use fine grit sandpaper (around 180-220) to create better adhesion for the paint. Fill any gaps between skirting boards/door frames and the wall with decorators caulk for a professional finish.
By thoroughly preparing the room, you'll ensure a smooth surface for painting and improve the longevity of your paint job.
Techniques for Applying Paint
Now that the room is prepared, it's time to apply the paint. Here are some techniques for achieving a flawless finish:
Cutting in: When painting around edges, corners, and fixtures, use a small brush for precision. Take your time and create clean, straight lines.
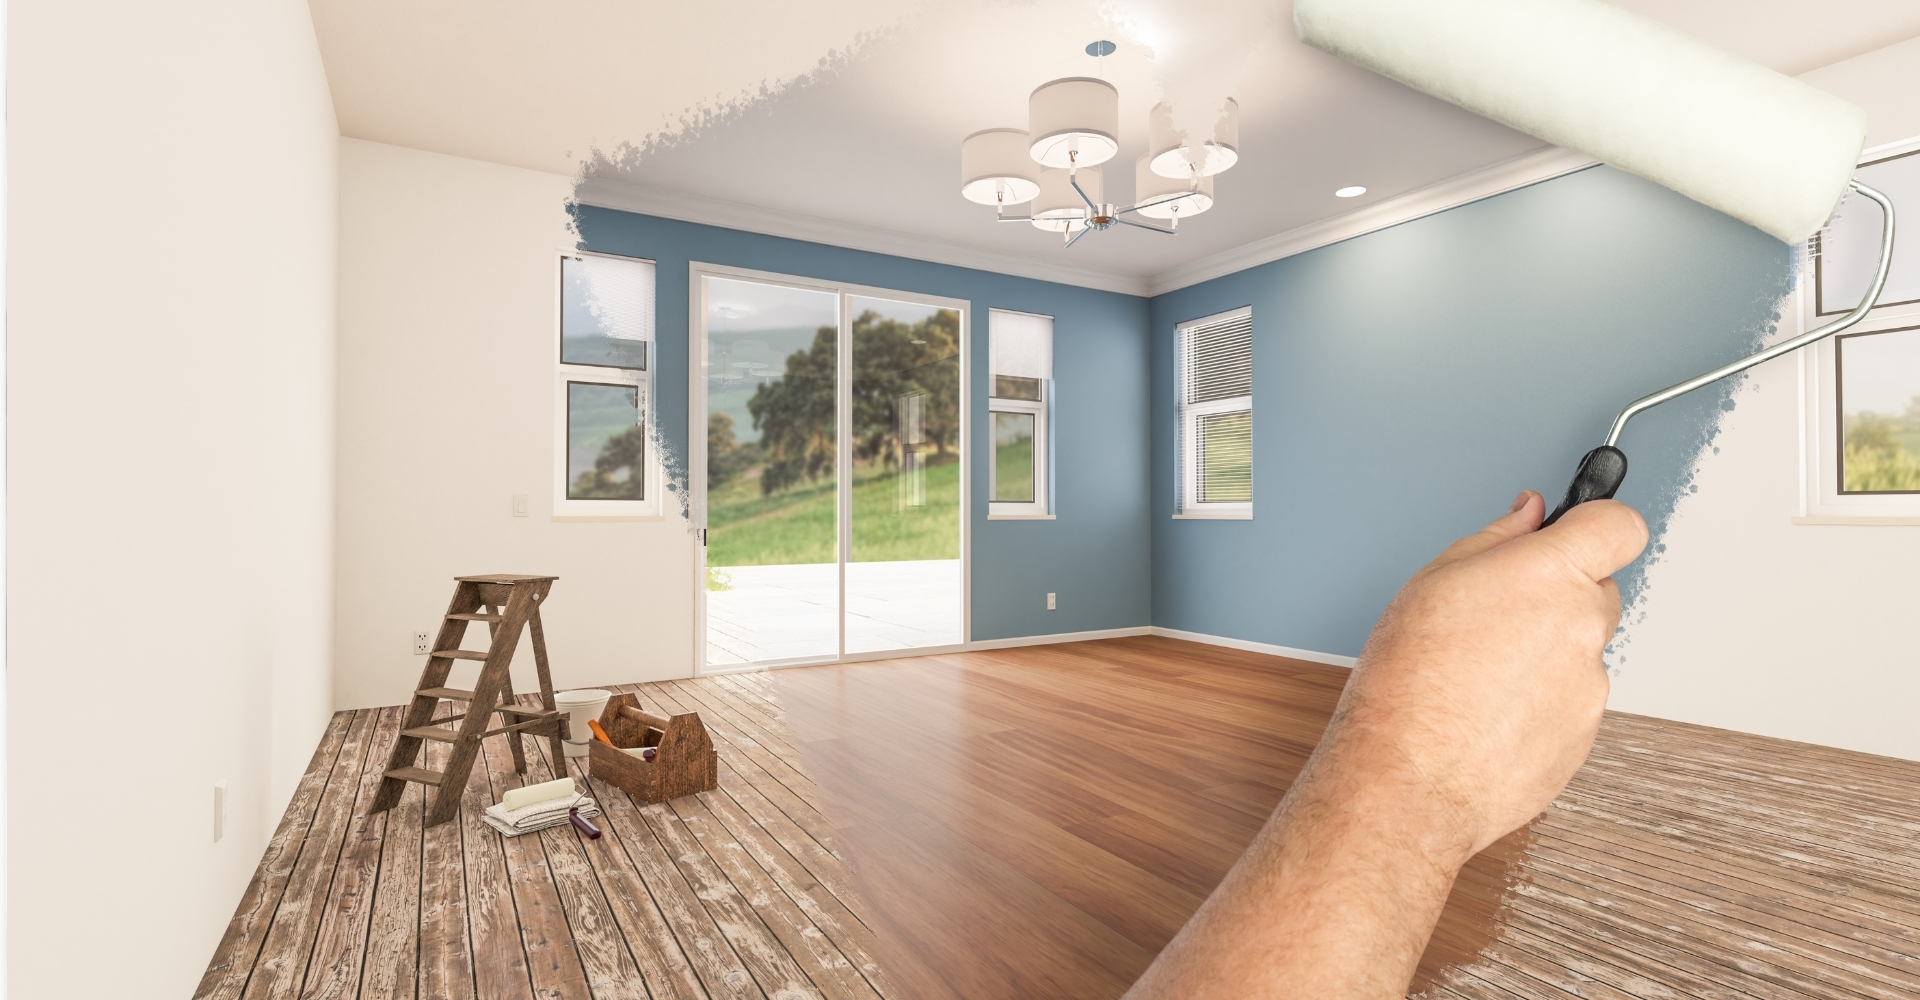
Using a roller: Use a high-quality roller for smooth and even coverage. Start from the top and work your way down in vertical strips. Roll in a "W" or "M" shape to distribute the paint evenly.
Overlapping strokes: When using a roller, overlap each stroke slightly to ensure consistent coverage. This will help avoid patchy areas.
Feathering: When cutting in or using a brush, feather the edges by lightly brushing over the painted area. This will blend the strokes and prevent visible brush marks.
Multiple coats: For a professional finish, apply multiple coats of paint. Allow each coat to dry completely before applying the next. This will enhance the depth and richness of the colour.
By employing these techniques, you'll achieve a smooth and flawless finish that will transform your room.

Cleanup and Maintenance
Once you've completed the painting process, it's important to clean up properly and maintain your newly painted surfaces. Here are some tips for cleanup and maintenance:
Clean your brushes and rollers: Use warm, soapy water to clean brushes and rollers immediately after use. Remove excess paint and rinse thoroughly. Allow them to dry completely before storing.
Remove painter's tape: Remove painter's tape carefully and slowly to avoid damaging the paint. Pull at a 45-degree angle to ensure a clean edge.
Touch-ups: Keep some leftover paint for touch-ups in the future. Store it properly in a sealed container and label it with the room and colour.
Regular maintenance: To keep your painted surfaces looking fresh, regularly clean them with a soft cloth or sponge and mild detergent. Avoid abrasive cleaners that can damage the paint.
By following these cleanup and maintenance tips, you'll preserve the beauty and longevity of your newly painted room.
Conclusion
It's important to select the right type of paint for each surface. For example, use emulsion paint for walls and gloss, satin, or eggshell paint for woodwork. Additionally, consider using a primer for new surfaces or when making a big colour change. This will ensure optimal coverage and adhesion.
While decorating and home improvements can be rewarding and hugely satisfying when completed, they can also be time-consuming and disruptive, especially if you're trying to juggle family and work commitments. Hiring a professional interior decorator not only ensures that the job is done to a high standard but also that it will be completed quickly and with as little disruption as possible to your daily life.
If you live in the Birmingham area and would like a free, no-obligation quote on your next decorating project, please get in touch with our team today.
Share this post: